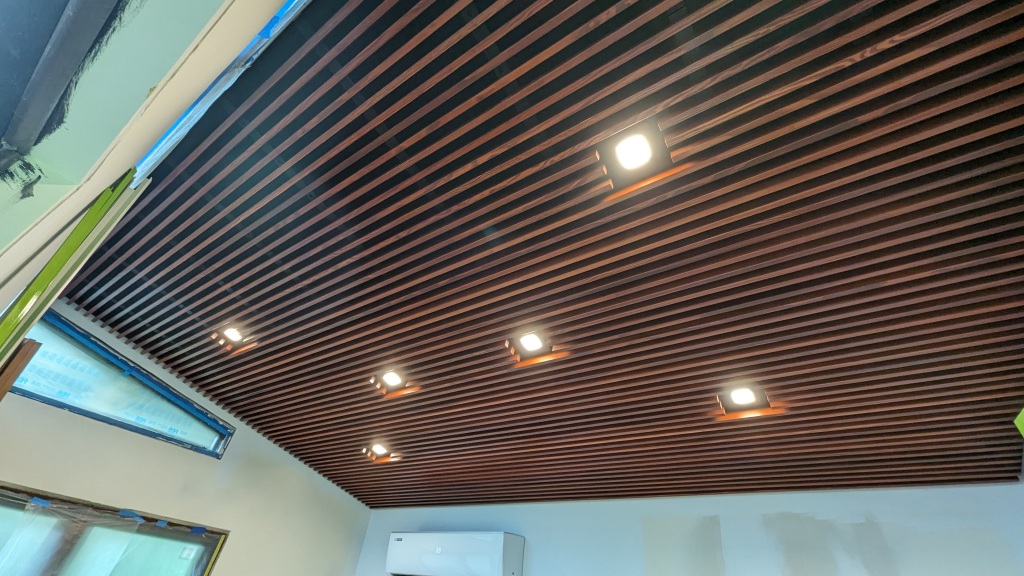
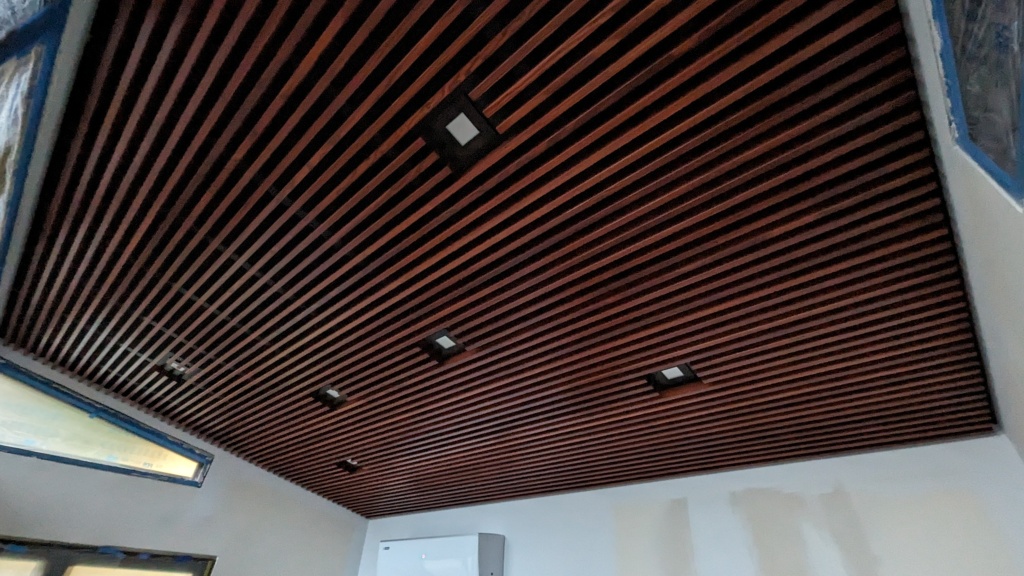
Did you notice anything interesting in that last pic showing the lights? No? Here it is again…

The top-left and bottom-right lights in this picture are not the same color as the other four. Yay, something to fix.
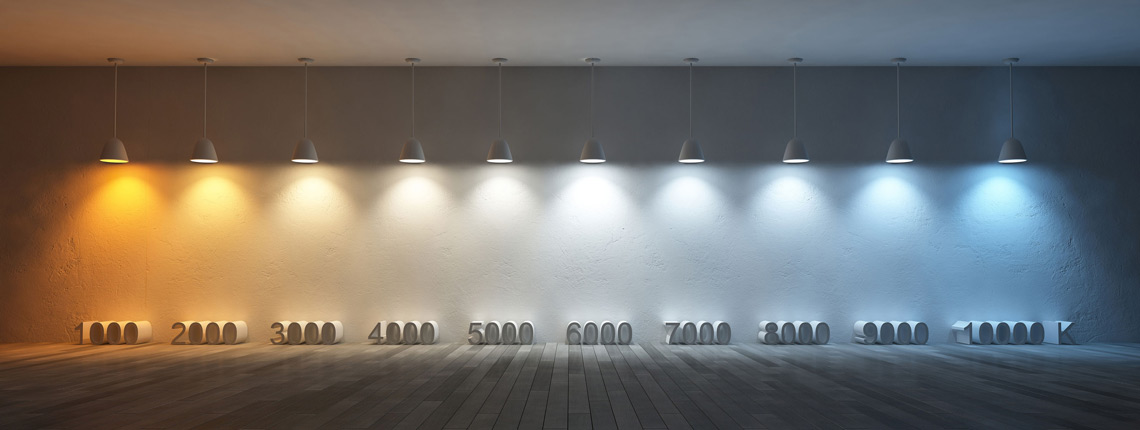
A word about color temperature. If you remember your high school physics, then you would know that we measure the “color” content of white light based on the light that a so called “black body” radiator would emit at a certain temperature. In degrees Kelvin. Bright daylight sun is considered around 5,500K in the lighting industry. It is called “cool” light because it looks blue (even though the temperature is hotter than “warm” light). Warmer white lights, such as produced by classic incandescent filament bulbs or halogen bulbs are usually about 2,700K or 3,000K respectively. If you’ve ever bought LEDs before, you have probably had to specify this temperature. Different qualities of light are more desirable for different use cases (kitchens, bathrooms, bedrooms, reading, etc.).
This site has a nice explanation and picture (click through):
Most early generation LED lights had to be bought as a specific, hard-coded color temperature. Manufacturers would actually test and sort their batches of LEDs and mix slightly different colors to get the temperature desired. That worked, but it doubles the number of SKUs they have to make, and makes it difficult to find the right light, with the right trim, in the right temperature actually on the shelf.
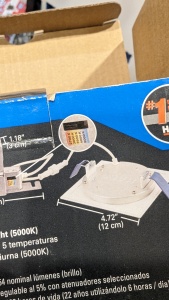
These lights have a nice feature – the color temperature is selectable from a range of 5 settings which are chosen by a slider switch right on the power transformer box for the light. This is great for the manufacturer and retailer because they can make one SKU instead of 2-3 (I doubt they’d make all 5 choices otherwise). It’s great for me because every color is always in stock.
Here’s the packaging with all the “CCT” marketing:

I like 3000K lights in most general lighting applications. That’s what the four yellower/more amber lights above are set for. Somehow though (!), the other two lights didn’t have their switches in the correct position. It’s possible that I forgot to check them when mounting, before drywall. Or it might be that I bumped them somehow at some later point. Yay.
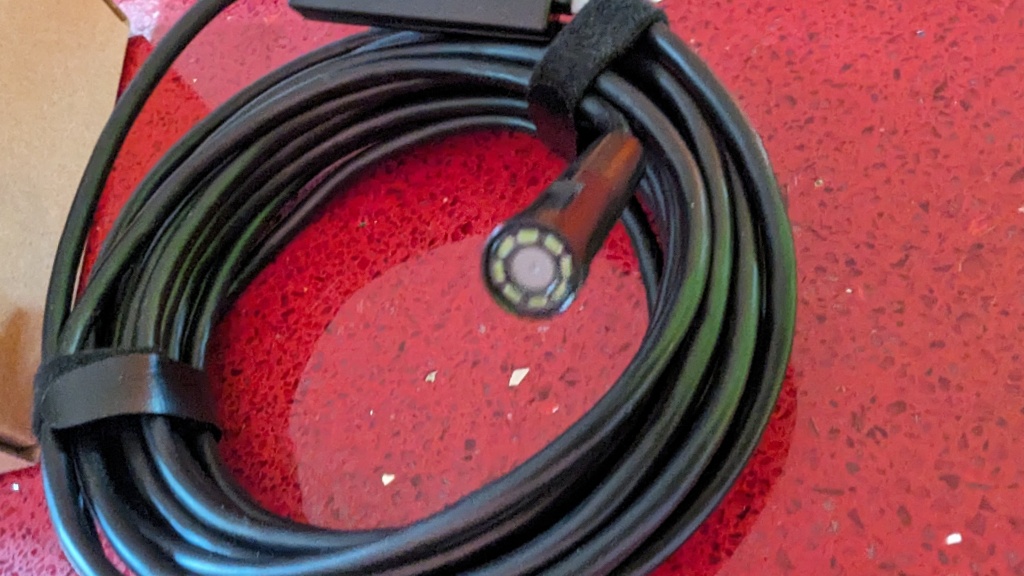
Theoretically, the boxes are accessible from the hole. But, with the foam insulation up there, it’s not a big enough space to comfortably get my hands into. So, I figured I’d need to snake a coat hanger or something up there and use a mirror to see. But then I had an idea – I used to have an inspection camera that was this huge Milwaukee thing with about a 30″ wiring snake. It was cool, but clunky. Well, fast forward 15 years and they make cheap endoscopic 2MP cameras that plug into the USB on your phone and are like 16′ in length. AND these cameras even come with a little hook you can screw onto the end to manipulate things.
Take your pick on Amazon of similar models all with 4.3 stars or more, and around $25-30, some with faster delivery than others. Overnight delivery brought this one to my door:


If you get one of these, your kids might find it interesting to see what the inside of their ear looks like. Or their mouth. Barrels of fun. 🙂
Here’s what the switch looks like…

A minute or two of fumbling around and I found the right setting (one from the right). Ten minutes start to finish to fix both lights – woohoo!
All better:


Leave a comment